Works
SWL
Sun, Wind & Light Home
0) Front Matter
1) Navigation
2) Using SWL
3) Synergies
4) Bundles
5) Favorite Design Tools
6) Favorite Design Strategies
7) High Performance Buildings
SWL Icons
Bundle-Up! Game
ISD
Integral Sustainable Design Home
Front Matter
Part I The Four Perspectives of Integral Sustainable Design
Part II Levels of Complexity in Sustainable Design
Part III Ecological Design Thinking
Part IV Designing Relationships to Nature
Conclusion
Book Reviews
Pubs.
Publications
Videos
Blog + News
In_FORM
Seminar
April Weaver
Danielle DiCicco
Jack Lyden
Lily Loveday
Mariam Siahatgar
Natalie Herrin
Olivia Layman
About
Menu
GreenVision Studio
Solving the Climate Crisis by Design
Works
SWL
Sun, Wind & Light Home
0) Front Matter
1) Navigation
2) Using SWL
3) Synergies
4) Bundles
5) Favorite Design Tools
6) Favorite Design Strategies
7) High Performance Buildings
SWL Icons
Bundle-Up! Game
ISD
Integral Sustainable Design Home
Front Matter
Part I The Four Perspectives of Integral Sustainable Design
Part II Levels of Complexity in Sustainable Design
Part III Ecological Design Thinking
Part IV Designing Relationships to Nature
Conclusion
Book Reviews
Pubs.
Publications
Videos
Blog + News
In_FORM
Seminar
April Weaver
Danielle DiCicco
Jack Lyden
Lily Loveday
Mariam Siahatgar
Natalie Herrin
Olivia Layman
About
SWL STRATEGY ICONS
Part III synergies
View fullsize
S1 Climate Resources
View fullsize
S2 Occupant Behaviors
View fullsize
S3 Resource Rich Environments
View fullsize
S4 Spatial Zoning
View fullsize
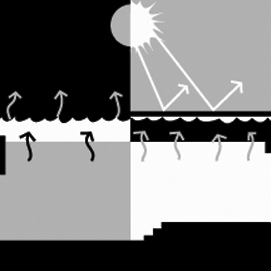
S5 Thermal Sailing
View fullsize
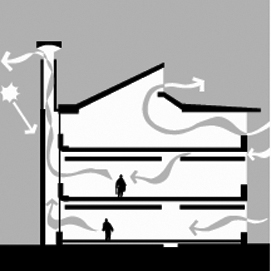
S6 Multivalent Design
View fullsize
S7 Active Tailored Systems
Part IV bundles
View fullsize
B1 Neighborhood of Light
View fullsize
B2 Cooling Neighborhood
View fullsize
B3 Solar Neighborhood
View fullsize
B4 Integrated Urban Patterns
View fullsize
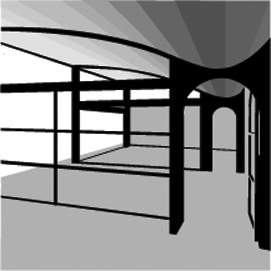
B5 Daylight Building
View fullsize
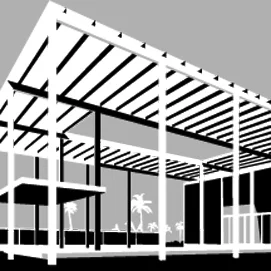
B6 Passive Cooliing
View fullsize
B7 Passive Solar Building
View fullsize
B8 Outdoor Microclimates
View fullsize
B9 Responsive Envelope
Part VII High Performance Buildings
View fullsize
P1 Energy Targets
View fullsize
P2 Annual Energy Use
View fullsize
P3 Net Zero Energy Balance
View fullsize
P4 Energy Use Intensity
View fullsize
P5 Emissions Targets
View fullsize
P6 Carbon Neutral Buildings
VIII Detailed design strategies
View fullsize
D1 Converging Ventilation Corridor
View fullsize
D2 Shared Shade
View fullsize
D3 Topographic Microclimates
View fullsize
D4 Daylight Density
View fullsize
D5 Climatic Envelope
View fullsize
D6 Glazed Streets
View fullsize
D7 Loose or Dense Urban Patterns
View fullsize
D8 Graduate Height Transition
View fullsize
D9 Interwoven Plants
View fullsize
D10 Interwoven Water
View fullsize
D11 Winter Courts
View fullsize
D12 Neighborhood Sunshine
View fullsize
D13 Daylight Block
View fullsize
D14 Daylight Envelopes
View fullsize
D15 Solar Envelope
View fullsize
D16 Shadow Umbrella
View fullsize
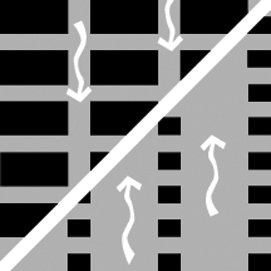
D17 Breezy Streets
View fullsize
D18 Tall Building Currents
View fullsize
D19 Dispersed Buildings
View fullsize
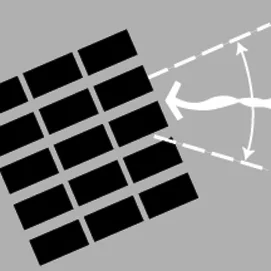
D20 E-W Elongated Building Group
View fullsize
D21 Wind Breaks
View fullsize
D22 Green Edges
View fullsize
D23 Overhead Shades
View fullsize
D24 Migration
View fullsize
D25 Period Transformations
View fullsize
D26 Cooling Zone
View fullsize
D27 Mixed Mode
View fullsize
D28 Heating Zone
View fullsize
D29 Buffer Zone
View fullsize
D30 Permeable Buildings
View fullsize
D31 Borrowed Daylight
View fullsize
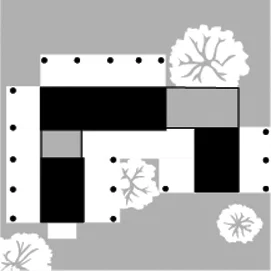
D32 Locating Outdoor Rooms
View fullsize
D33 Atrium Building
View fullsize
D34 Clustered Rooms
View fullsize
D35 Thin Plan
View fullsize
D36 E-W Plan
View fullsize
D37 Deep Sun
View fullsize
D38 Skylit Building
View fullsize
D39 Moving Heat to Cold Room
View fullsize
D40 Stratification Zones
View fullsize
D41 Daylight Zones
View fullsize
D42 Convective Loops
View fullsize
D43 Rooms Facing Sun & Wind
View fullsize
D44 Cross Ventilation Rooms
View fullsize
D45 Wind Catchers
View fullsize
D46 Evaporative Cooling Towers
View fullsize
D47 Toplight Room
View fullsize
D48 Direct Gain
View fullsize
D49 Sunspaces
View fullsize
D50 Thermal Storage Walls
View fullsize
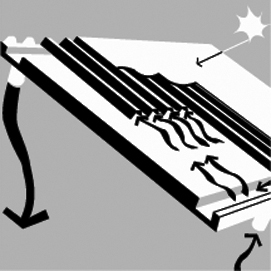
D51 Thermal Collector Wall & Roofs
View fullsize
D53 Roof Pond
View fullsize
D53 Stack Ventilation
View fullsize
D54 Night Cooled Mass
View fullsize
D55 Daylight Room Geometry
View fullsize
D56 Glare Free Rooms
View fullsize
D57 Side Light Room Depth
View fullsize
D58 Breezy Calm Courtyards
View fullsize
D59 Shady Courtyards
View fullsize
D60 Mass Arrangement
View fullsize
D61 Water Edges
View fullsize
D62 Insulation Outside
View fullsize
D63 Layer of Shades
View fullsize
D64 Reflected Sunlight
View fullsize
D65 Open Roof Structure
View fullsize
D66 Daylight Roof
View fullsize
D67 Seperated Combined Openings
View fullsize
D68 Window Placement
View fullsize
D69 Ventilation Openings Arrangement
View fullsize
D70 Well-Placed Windows
View fullsize
D72 Mechanical Heat Distribution
View fullsize
D73 Electric Light Zone
View fullsize
D74 Skin Thickness
View fullsize
D75 Thermal Mass
View fullsize
D76 Earth Edges
View fullsize
D78 PV Walls Roofs
View fullsize
D79 Solar Hot Water
View fullsize
D80 Breathing Walls
View fullsize
D81 Solar Reflectors
View fullsize
D82 Low Contrast
View fullsize
D83 Skylight Wells
View fullsize
D84 Solar Apertures
View fullsize
D85 Daylight Apertures
View fullsize
D86 Ventilation Apertures
View fullsize
D87 Air Flow Windows
View fullsize
D88 Light Shelves
View fullsize
D89 Movable Insulation
View fullsize
D90 Daylight Shades
View fullsize
D91 External Shading
View fullsize
D92 Internal Shading
View fullsize
D93 Task Lighting
View fullsize
D94 Rock Beds
View fullsize
D95 Mechanical Mass Ventilation
View fullsize
D96 Mechanical Space Ventilation
View fullsize
D97 Ducts Plenums
View fullsize
D98 Earth-Air Exchangers
View fullsize
D99 Air-Air Heat Exchangers
View fullsize
D100 Heatpump
View fullsize
D101 Manual Automated Controls
View fullsize
D102 Mass Surface Absorbance
View fullsize
D103 Daylight Reflecting Surfaces
View fullsize
D104 Exterior Surface Color
View fullsize
D105 Double Skin Materials
View fullsize
D106 Window & Glass Type
IX ANALYSIS TECHNIQUES
View fullsize
A1 Sundial
View fullsize
A2 Sun Path Diagram
View fullsize
A3 Solar Radiation
View fullsize
A4 Wind Rose
View fullsize
A5 Wind Square
View fullsize
A6 Air Movement Principle
View fullsize
A7 Site Microclimates
View fullsize
A8 Sky Cover
View fullsize
A9 Daylight Available
View fullsize
A10 Daylight Obstruct
View fullsize
A11 Design Daylight Factor
View fullsize
A12 Temperature Humidity
View fullsize
A13 Adaptive Comfort Criteria
View fullsize
A14 Energy Programming
View fullsize
A15 Load Responsive Scheduling
View fullsize
A16 Occupancy Heat Gain
View fullsize
A17 Electric Lighting Heat Gain
View fullsize
A18 Equipment Heat Gain
View fullsize
A19 Electric Loads
View fullsize
A20 Service Hot Water
View fullsize
A21 Skin Heat Flow
View fullsize
A22 Window Solar Gain
View fullsize
A23 Ventilation Infiltration Gain & Loss
View fullsize
A24 Building Bioclimatic Chart
View fullsize
A25 Earth Contact
View fullsize
A26 Shading Calendar
View fullsize
A27 Total Heat Gain & Loss
View fullsize
A28 Balance Point Temp
View fullsize
A29 Balance Point Profiles